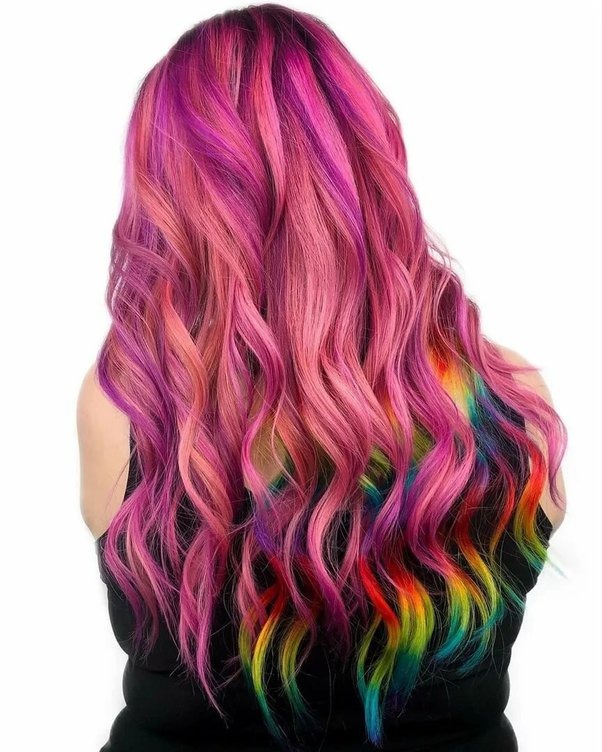
Wigs are popular for many people who want to change their hairstyle or color. However, not everyone can afford to get a wig done by a professional. That's why many DIY tutorials on YouTube show how people can re-dye their wigs at home.
Secondary dyeing of wigs is applying another color to the hair after the original color has been applied. This process is typically done with a professional stylist and takes time, effort, and skill to complete appropriately.
This article will teach you how to do secondary dyeing of wigs by yourself in 10 minutes!

Here are the steps to do secondary dyeing of wigs by yourself
Choose the right color.
Before you begin coloring your wig, determine the right color for your wig. Choosing the right color for your human hair wig can be difficult. There are so many options, and it is hard to decide.

There are a lot of factors to consider when choosing the right color for your human hair wig. Because the color of your hair is essential in determining what wig style is best for you and your personality type.
For example, you need to know how your skin tone will react to the wig color. If you have a fair complexion, you should go for colors with yellow or golden undertones. If you have a medium skin tone, then look for colors that have brown or red undertones. If your hair has red highlights and has been dyed recently, the best style would be one with more red tones – like burgundy or maroon wigs. Lastly, choose colors with blue or purple tones if you have a dark skin tone.
Gather Tools To Color the Wig
Get all the items you'll need before starting to dye your wig:
Dye brush- The brush will help the dye get into all of your hair strands, which then can be washed out later.
Wide-tooth comb- This comb will help you keep the hair looking neat.
Hair clips- You can use these to hold up your hair while it is dyed to avoid spilling dye on the ground or staining furniture.
Hair dye- The dye will help your hair's color change so you can achieve a different look.
Mixing bowl- This is perfect for mixing your dye and water.
Plastic/Latex gloves- These gloves will help prevent the dye from staining your hands.
T-pins- These pins will help you pin your hair back while it is still wet.
Plastic sheet- The plastic sheet will help the dye and water mix, which can then be used to soak up excess dye that spills on the ground or furniture.
Warm water- This will be used later to wash out the dye from your hair.
Wig head— This is a stand that you put the wig on.
Prepare the Wig:
Cleanse the wig first- Starting with clean hair is ideal, but only use a shampoo that won't damage the wig. Also, ensure that you don’t apply a conditioner or any other product.
Allow the wig to finish drying- The wig should ideally be washed a few days before the event. This allows it time to completely dry. The wig can be dried using a blow dryer if you don't have the luxury of time.
Prepare the wig head- Wrap the wig head in plastic wrap to protect it from stains, keep it from fading, and just to keep it looking good. This will shield the wig head.

Comb the wig- Attach your wig to the wig head by utilizing T-pins. You might not need to use T-pins if your wig fits snugly on the wig head.
Note: Gently comb the wig to free it of all tangles using a wide-tooth comb. Before you begin to color the wig, it needs to be flat and free of knots.
Start the Dying Process:
Here's how to start dying your wigs:
- Firstly, the hair should be divided into four quadrants. Create two portions in the front and two sections in the back of the wig by center-parting it.
- Next, combine the colors.
- Use a dye brush, a mixing bowl, a bowl of the developer, and hair dye to blend the color as directed by the manufacturer. Ensure that you thoroughly combine everything and adhere to the instructions strictly.
- Start at the wig's back in the first quadrant. Apply the hair dye to the wig, starting at the roots and working your way down to the individual hair strands.
- To separate the hair, use the pointed end of the dye brush, and to color it, use the bristle end.
- To ensure you are covering all of the hair, work in small parts at a time. Apply the dye to the hair thoroughly and uniformly.
Start with the roots if you've opted to color only the roots and leave the rest of the hair a different color. first, dye them. - Next, apply the secondary color to the remaining hair part. Using your gloved fingers, “smudge” the two colors together to create a progressive color transition rather than an abrupt one.
- Once the wig is completely dry, continue the drying process.
- Put the wig in warm water to rinse it. Rinse once more until the water is clear. Rinse the wig many times if necessary to ensure that all of the colors have been removed.
- Apply conditioner to the wig as the product directs, then follow the guidelines.
- Utilizing a towel, dry the wig. Once more, if the color wasn't thoroughly rinsed out, this should be a towel you don't mind getting soiled.
- To remove the extra water from the hair, wrap the wig in the towel and give it a little squeeze. In this process, be gentle.
- Dry the wig thoroughly.
Finally, wearing wigs offers you such versatility. You can be delicate and discreet in a professional or office environment and then brash in the evening at a club. A day's worth of events!
The fun of changing your appearance whenever you want is increased by the availability of human hair wigs that you may select, color, and style to your preference.
